Soundhole Rosette 1
A complete instructional guide as to how I make a wood
veneer sound hole surround (rosette) - although this guide is for a particular soundhole design the techniques described could be adapted to other soundhole surround designs.
Lots of pictures so I have divided this tutorial into four parts to enable fairly quick page loads.

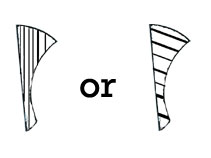
I will take you through all the steps to end up with a design in wood similar to the picture above.
Tools

Cutting Mat
Steel Rule
Scalpel with 10a blade
Pair of compasses to draw circles
A 2 pence coin - this is the actual cutting guide.
All the curved lines are cut using this.
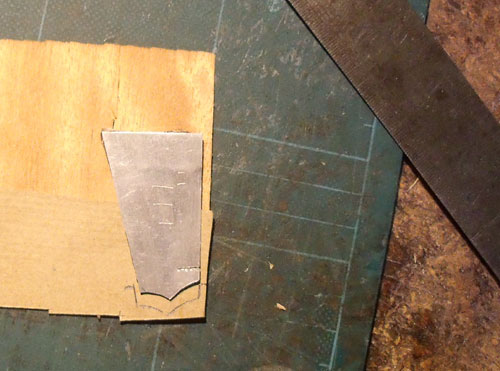
Homemade Templates
One is cut from sheet aluminium and has the design of the 4 finished parts
- these are for drawing round prior to cutting the veneer.
The other is made from perspex and is a 15 degree segment of a circle -
this is for drawing the cutting lines on segments.
The fact that you can see through it makes it easy to visually align.
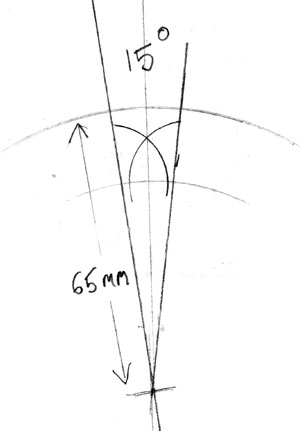
Make your own template simply - using compasses,
protractor,ruler and 2p coin.
Make this on stiff card or similar and cut out the four pieces
These are the main tools needed for the project - a few more tools will be used.
Step 1 - Choosing woods
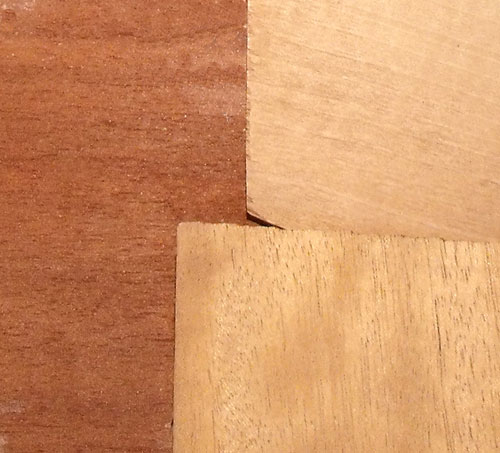
Select 3 different veneers
These should contrast to a certain degree but it is not necessary that they
should be completely different from each other in tone.
On left is my "dark" wood -
top right is my "light" wood
bottom right is what I will be using for all the "crowns"
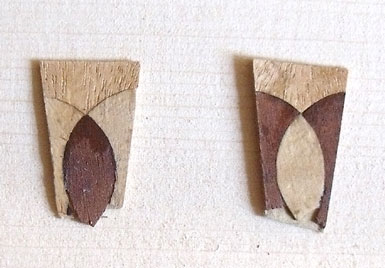
The finished design is made from 24 segments
12 light - dark - light
12 dark - light - dark
The piece at the top (crown) is the same wood for both types
Step 2 - Papering the veneer

Glue some strong paper to one side of the veneer.
This is not essential but it really helps to keep the small shapes intact when you are cutting them.
Some woods are very easily split along the grain and so chunks can easily come off corners.
I am using a large old manila envelope for the paper.
The glue I use for this and for all the gluing in this project is "Titebond" aliphatic wood glue.
Step 3 - Drawing shapes
Draw round the template using a sharp pencil
It is best to draw on the side that is papered as this makes the lines easier to
see.

A note on grain direction
Because the design is circular grain direction is not critical but does need
to be consistent.
All grain should run straight up the pieces with the exception of the side
pieces where there
is a choice
For this design I am using the first choice so all the
pieces have the same
grain direction.
Step 4 - Using the coin
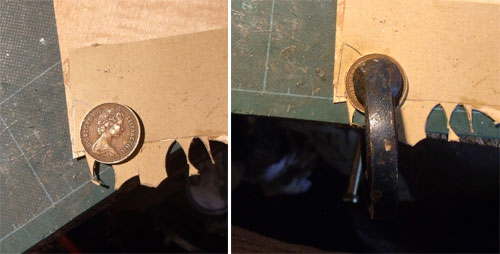
Position the 2p coin carefully covering about half of the
width of the pencil mark you have drawn so you can only just see a trace
of the line under the edge of the coin.
I then use a small clamp to hold coin and veneer firmly in place.
This is not essential as you could just hold the coin but I find clamping
makes it easier to concentrate on cutting.
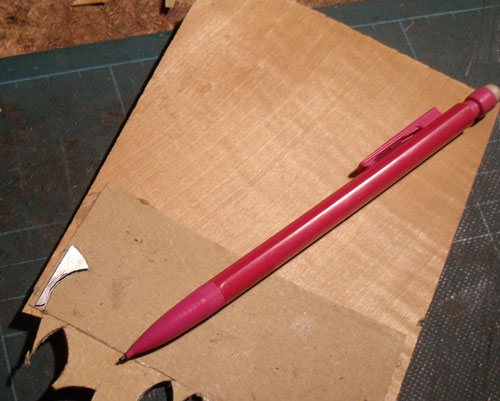
Step 5 - Cutting the pieces
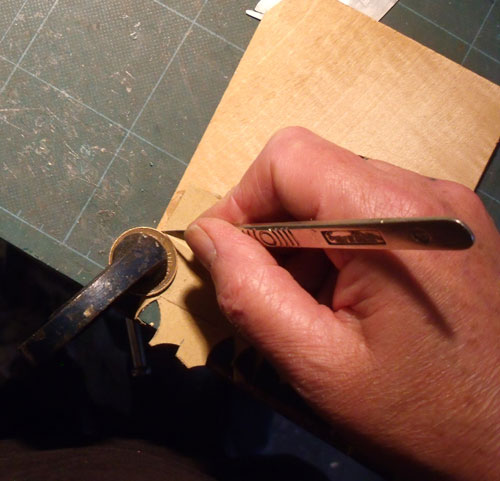
Cut the 2 curves using the edge of the coin to guide the scalpel,
You should push into the side of the coin with the blade and avoid too much downward pressure to start with.
You may have to make 5 or 6 passes to cut right through - depending on the hardness of the veneer.
Do not hurry this as good a clean cut is desirable and much more likely if you take your time
Bear in mind that the curves are the only cuts that are important at this stage - the sides and bottom will be trimmed later in the process and merely have to be large enough.
The picture shows a piece being cut from the edge of the veneer sheet - further in the straight side would be cut using the steel rule
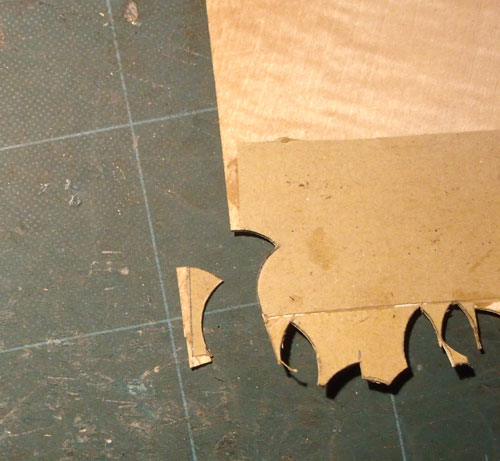
This is a crown piece ready for cutting
The 2 curves will be cut using the coin - the other 3 sides using the steel rule
We need 24 identical ones of these
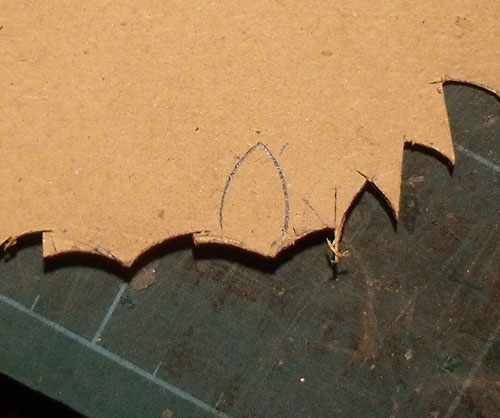
The lower central piece ready for cutting
Just 2 cuts using the coin is all you need for this - just leave the bottom
oversized
We need 12 dark and 12 light of these.
© Nick Marchant Guitars